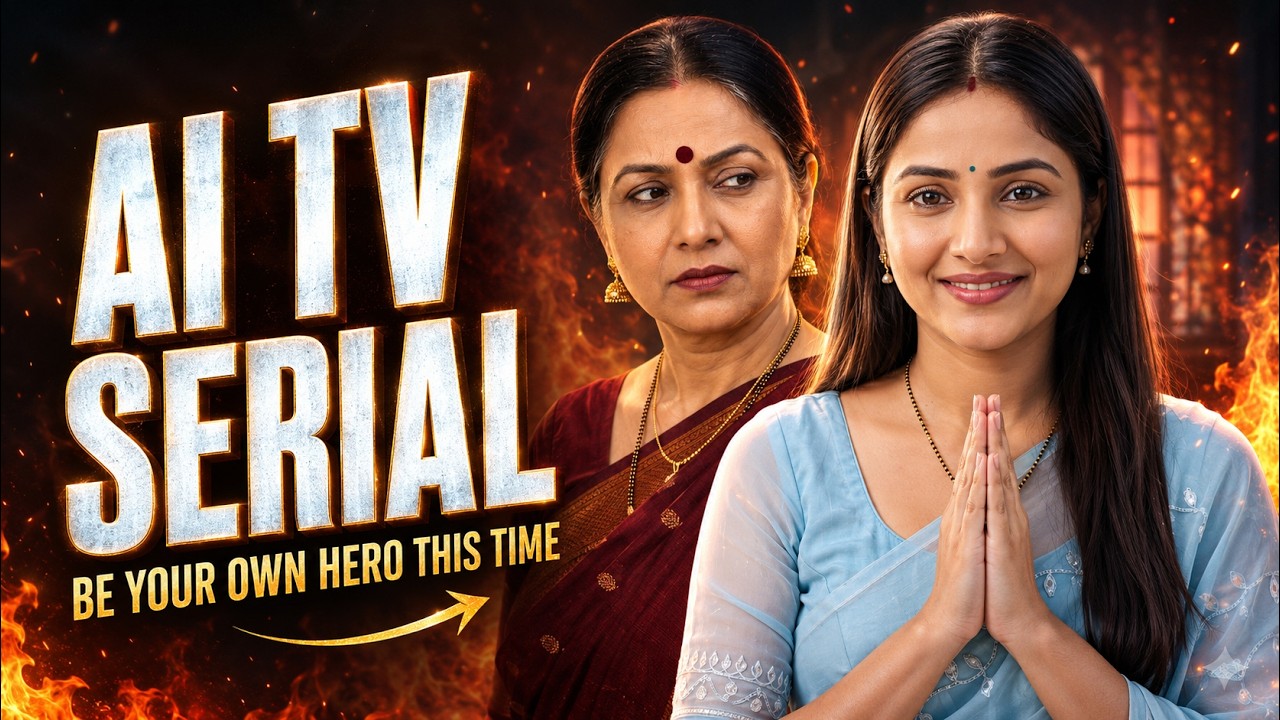
Have you ever imagined becoming the lead character in your own television serial? With modern AI tools, you can now transform this idea into a complete video series without hiring actors, arranging shooting locations, or purchasing expensive camera equipment.
You can create a personal AI avatar, design an entire cast, generate dramatic scenes with dialogue, and reuse the same characters in future episodes. Whether you want to produce family drama, comedy, romance, suspense, or emotional stories, AI can help you handle almost every stage of production.
Here is a complete beginner-friendly guide to creating a realistic AI TV serial using your own face.
Tool features, subscription requirements, free credits, models, and availability can change. Always check the latest options available in your account.
Why Should You Create an AI TV Serial?
Short dramatic videos are highly suitable for platforms such as YouTube Shorts, Instagram Reels, and Facebook.
They can capture viewers’ attention through:
- Relatable family situations
- Emotional conversations
- Strong character relationships
- Dramatic expressions
- Unexpected twists
- Funny reactions
- Continuing storylines
Unlike a one-time video, a serial allows you to bring the same characters back in multiple episodes. Viewers gradually become familiar with their personalities and may return to see what happens next.
Using your own face for the lead character also makes the content more personal and memorable.
What Can You Create with This Method?
This workflow can be used for different types of AI videos, including:
- Saas-bahu family drama
- Comedy serials
- Romantic stories
- Village-based stories
- Crime and suspense episodes
- Mythological stories
- Cooking challenges
- Children’s stories
- Social-awareness videos
- Short AI films
The tools may change, but the basic creative process remains the same: plan the story, build the characters, divide it into scenes, generate the clips, and edit the final episode.
Tools You Will Need
To create an AI TV serial, you will generally need:
- A clear selfie video or facial reference
- An AI avatar-creation feature
- ChatGPT for story and prompt writing
- An AI video generator such as Google Flow
- A video-editing application
- Background music and sound effects
For better character consistency, select a video platform that allows you to save and reuse character references.
Step 1: Select the Main Idea for Your Serial
Before creating characters, decide what your serial will be about.
Start by answering these questions:
- Who is the main character?
- What does the main character want?
- Who creates the conflict?
- Where does the story take place?
- What problem must be solved?
- How should the episode end?
- Why would viewers want to watch the next episode?
For your first AI serial, choose a simple and relatable situation.
Example episode idea
A young woman named Anu is the daughter-in-law of a traditional family. Her sister-in-law Priya wants to eat something sweet, but her mother-in-law Radha believes Anu cannot prepare traditional desserts.
Anu accepts the challenge and makes bread rasmalai. Priya loves it, while Radha pretends that it is not very good. However, she quietly asks Anu to bring four more pieces.
This concept is effective because it includes drama, food, family relationships, and humour.
Step 2: Create an AI Avatar from Your Face
If you want to play the lead role, create a reusable avatar using your face.
Depending on the tool, you may need to record a short selfie video. The platform may ask you to:
- Look directly at the camera
- Keep your face inside a frame
- Read numbers or a short sentence
- Move your head slightly
- Allow camera and microphone access
For a better avatar:
- Stand in front of a simple background.
- Use bright but soft lighting.
- Keep the camera at eye level.
- Remove sunglasses or anything covering your face.
- Avoid heavy filters.
- Do not move the phone excessively.
- Make sure your complete face remains visible.
After the avatar is created, check whether it resembles you accurately. This avatar will become the identity reference for your lead character.
Step 3: Build a Cast with Clear Personalities
Every character should have a different personality and purpose.
Do not create characters based only on their appearance. Their behaviour, expressions, dialogue style, and relationships are equally important.
For example:
Anu: The confident daughter-in-law
Anu is respectful, warm, and intelligent. She remains calm during disagreements and proves herself through her actions.
Radha: The dramatic mother-in-law
Radha is traditional, proud, and easily irritated. She often criticises Anu but secretly appreciates her talent.
Priya: The cheerful sister-in-law
Priya is friendly, expressive, and supportive. She creates a positive emotional connection between the other two characters.
Distinct personalities make scenes easier to understand and give the audience a reason to remember every character.
Step 4: Use ChatGPT to Write Character Prompts
Explain your complete story and cast to ChatGPT. Ask it to create a visual prompt for every character.
A character prompt can define:
- Role in the story
- Personality
- Outfit style
- Hairstyle
- Jewellery
- Facial expression
- Body language
- Television-serial appearance
If the lead character uses your saved avatar, avoid writing a detailed facial description that could compete with the avatar reference. Focus on clothing, styling, expression, and personality.
Use a separate prompt for every supporting character.
Step 5: Generate and Save Character References
Open the character or image-generation section of your chosen AI platform.
For the lead character:
- Add your personal avatar as the reference.
- Paste the lead character’s styling prompt.
- Generate the character image.
- Review facial matching and overall quality.
- Save it with a clear name.
Repeat the same process for the remaining characters.
Your reference image should ideally include:
- A clearly visible face
- Natural lighting
- A simple background
- A clean pose
- Suitable clothing
- An expression matching the personality
Avoid using an action-heavy scene as the main reference. A clean portrait or medium shot is usually easier to reuse.
Step 6: Write the Complete Episode Before Generating Videos
Do not start producing random clips without completing the story.
Write the entire episode first, including:
- Opening situation
- Main conflict
- Character responses
- Important actions
- Dialogues
- Final outcome
- Closing twist
A clear script prevents unnecessary generations and helps maintain continuity.
A simple episode structure
- Priya asks Anu for something sweet.
- Radha doubts Anu’s cooking skills.
- Anu accepts the challenge.
- She gathers the ingredients.
- She prepares the dessert.
- Anu serves it to the family.
- Priya praises the taste.
- Radha gives a humorous reaction.
This structure can be expanded into more shots when detailed cooking or reaction moments are needed.
Step 7: Divide the Episode into Short Clips
AI video generators usually perform better with short and focused instructions.
Divide your episode according to the maximum clip duration supported by the selected model. If each clip can be 10 seconds long, plan every shot for approximately 8–10 seconds.
Each scene should contain:
- One main conversation
- One clear action
- One emotional change
- One simple camera plan
Avoid placing an entire conversation, cooking sequence, and reaction in the same clip.
A well-planned short scene is easier to generate and correct.
Step 8: Prepare a Detailed Prompt for Every Scene
Convert each storyboard shot into a detailed text-to-video prompt.
A useful prompt should include:
Characters
Mention every character appearing in the scene.
Environment
Explain where and when the scene takes place.
Staging
Describe where each character is sitting or standing.
Actions
Write the movements in chronological order.
Expressions
Mention how every character feels and reacts.
Dialogue
Write the exact dialogue and identify the correct speaker.
Camera
Mention the shot size, angle, and movement.
Timing
Explain how the scene should progress within the available duration.
Sample prompt
“Characters used: Anu, Priya and Radha. The scene takes place in an elegant Indian living room during the morning. Priya sits on the sofa while Anu stands beside her. Radha is seated in the background and observes them. Priya smiles at Anu and says, ‘Bhabhi, I feel like eating something delicious and sweet today.’ Anu replies warmly, ‘Of course, why not?’ Radha remains completely silent and reacts with a slightly doubtful expression. Begin with a wide three-character shot, slowly move closer during Priya’s dialogue, and end with Anu’s confident smile. Use natural body movement, accurate speaker-specific lip-sync, realistic expressions, soft daylight, and clean television-serial-style cinematography.”
Step 9: Tag Silent Characters as Well
One of the most important consistency rules is to attach every visible character—even if they do not speak.
If Radha is standing in the background while Anu and Priya are talking, Radha must still be included in the character list.
Otherwise, the AI might:
- Replace Radha with another person
- Change her face
- Remove her from the shot
- Give her someone else’s dialogue
- Make her move her lips unnecessarily
You can write:
“Radha remains silent throughout the scene. Her lips must not move. She only reacts through her eyes and facial expression.”
This makes the performance instructions much clearer.
Step 10: Generate One Video at a Time
Start by generating only the first scene. Check the result carefully before moving to the next shot.
Review:
- Facial accuracy
- Character identity
- Lip-sync
- Dialogue assignment
- Body movement
- Hand position
- Eye direction
- Camera movement
- Background consistency
- Scene duration
If the result is incorrect, reuse the same prompt instead of writing everything again.
Modify only what needs correction.
For example:
- “Use fewer hand gestures.”
- “Only Anu should speak.”
- “Keep Priya’s lips completely still.”
- “Make the camera movement slower.”
- “Radha should look annoyed, not angry.”
- “Do not change the furniture.”
- “Maintain the same saree and hairstyle.”
Small corrections are often more effective than completely changing the prompt.
Step 11: Maintain Visual Continuity Between Shots
All scenes belonging to the same sequence should look connected.
Maintain the same:
- Character faces
- Outfits
- Hairstyles
- Jewellery
- Location
- Furniture
- Time of day
- Lighting
- Colour treatment
If Anu is wearing a blue saree in the living-room scene, she should not suddenly appear in a green saree in the next kitchen shot unless the story includes an outfit change.
Mention continuity instructions in every connected prompt.
Step 12: Merge and Edit the Generated Clips
Once all scenes are approved, arrange them in the correct order.
During editing:
- Remove unwanted frames.
- Adjust clip duration.
- Add background music.
- Include suitable sound effects.
- Correct dialogue volume.
- Add subtitles.
- Use reaction shots.
- Apply basic colour correction.
- Keep transitions natural.
Avoid using excessive effects. The story and character performances should remain the main focus.
How to Use the Same Characters in the Next Episode
After completing the episode, save the best reference image of each character.
When creating a new episode, reuse those approved images instead of generating the cast again from the original descriptions.
If you want to modify an outfit, write:
“Use the attached image as the exact identity reference. Preserve the same facial identity, facial features, skin tone, hairstyle structure, and age appearance. Change only the outfit to a green traditional saree with suitable jewellery. Do not redesign the face.”
Approve the updated reference before using it in multiple scenes.
This allows you to change clothing and styling while keeping the character recognisable.
Build a Character Bible for Long-Term Consistency
If you plan to create several episodes, maintain a character bible.
Record the following information for every character:
- Name
- Role
- Personality
- Relationships
- Speaking style
- Regular clothing
- Hairstyle
- Jewellery
- Common expressions
- Approved reference images
- Important continuity rules
Also save your best scene prompts. You can reuse their structure and replace only the location, dialogue, and action.
Common Problems and Their Solutions
The wrong character speaks
Clearly mention the speaker’s name before the dialogue and instruct other characters to remain silent.
The face changes between scenes
Use the same approved reference image and avoid changing several visual details simultaneously.
Silent characters move their lips
Write that their lips must remain closed and that they should react only through facial expressions.
The scene feels unnatural
Reduce the number of actions, simplify the camera movement, and include natural pauses.
The background keeps changing
Use the same detailed location description in every connected prompt.
The dialogue feels rushed
Shorten the dialogue or divide it into two separate shots.
Hands or props look incorrect
Use simpler movements and avoid complicated object interactions in a single generation.
Best Practices for High-Quality AI Episodes
- Start every episode with an attention-grabbing moment.
- Introduce the conflict quickly.
- Keep each scene focused.
- Use short and natural dialogue.
- Mention the correct speaker.
- Add reaction shots after important lines.
- Keep camera movements simple.
- Maintain the same character references.
- Save all successful prompts.
- Review every clip before final editing.
- End the episode with humour, suspense, or emotion.
- Include a reason for viewers to watch the next episode.
Is It Possible to Create These Videos for Free?
Some AI platforms offer free credits, trials, promotional plans, or limited access. However, these offers can change over time and may depend on your location, mobile plan, account eligibility, or subscription.
Before creating your project, check:
- Current subscription requirements
- Available monthly credits
- Supported video models
- Maximum video duration
- Watermark restrictions
- Download quality
- Avatar availability
- Commercial-use terms
The creative workflow can remain the same even if the platform’s pricing or feature availability changes.
Conclusion
Creating an AI TV serial becomes easier when you treat it like a real production instead of relying on a single prompt.
The process involves:
- Choosing a simple story concept
- Creating your personal avatar
- Designing memorable supporting characters
- Saving clean character references
- Writing the complete episode
- Dividing it into short scenes
- Creating detailed prompts
- Attaching every visible character
- Reviewing each generated clip
- Editing everything into a complete episode
The first episode may take time because you are building your cast and testing your visual style. Once the characters, prompts, and workflow are established, creating future episodes becomes much faster.
With strong storytelling, consistent characters, clear dialogue, and carefully planned scenes, you can build your own AI-generated TV serial and become the lead character in every episode.